P-20HD: How to Use it to Delay a Live Stream
While the P-20HD is designed primarily for instant replay, this guide will show you how to use it to delay a live stream.
If you are live streaming events or public meetings with unscripted moments, a delay allows you to mute the audio or cover the video with a still image.
You will also get a .MP4 recording of your event on the SD card.
This guide will walk you through set up for this workflow.
In this application, the P-20HD receives audio and video from a switcher via HDMI, and then outputs HDMI to a streaming encoder like the UVC-01.
Project Setup
Make sure to give yourself some time before your event to set this up and start recording before the event starts without stopping.
Create a New Project, and choose Resolution Priority:
- Menu > 1: Project > New > [Enter]
- Mode > Priority > Resolution
Once the project is created, you will see on the LCD screen how much record time is remaining on the SD card, make sure that it is enough to record the entire event:
![]()
Change the Output mode from Live In to Replay:

Press the Record button, then quickly press Pause and Rewind on the P-20HD:


Wait the number of seconds you want to delay your event by, and then press Play:

Remember that the P-20HD records and plays the same file at the same time, allowing you to use it as a live stream delay.
Monitoring the Recording
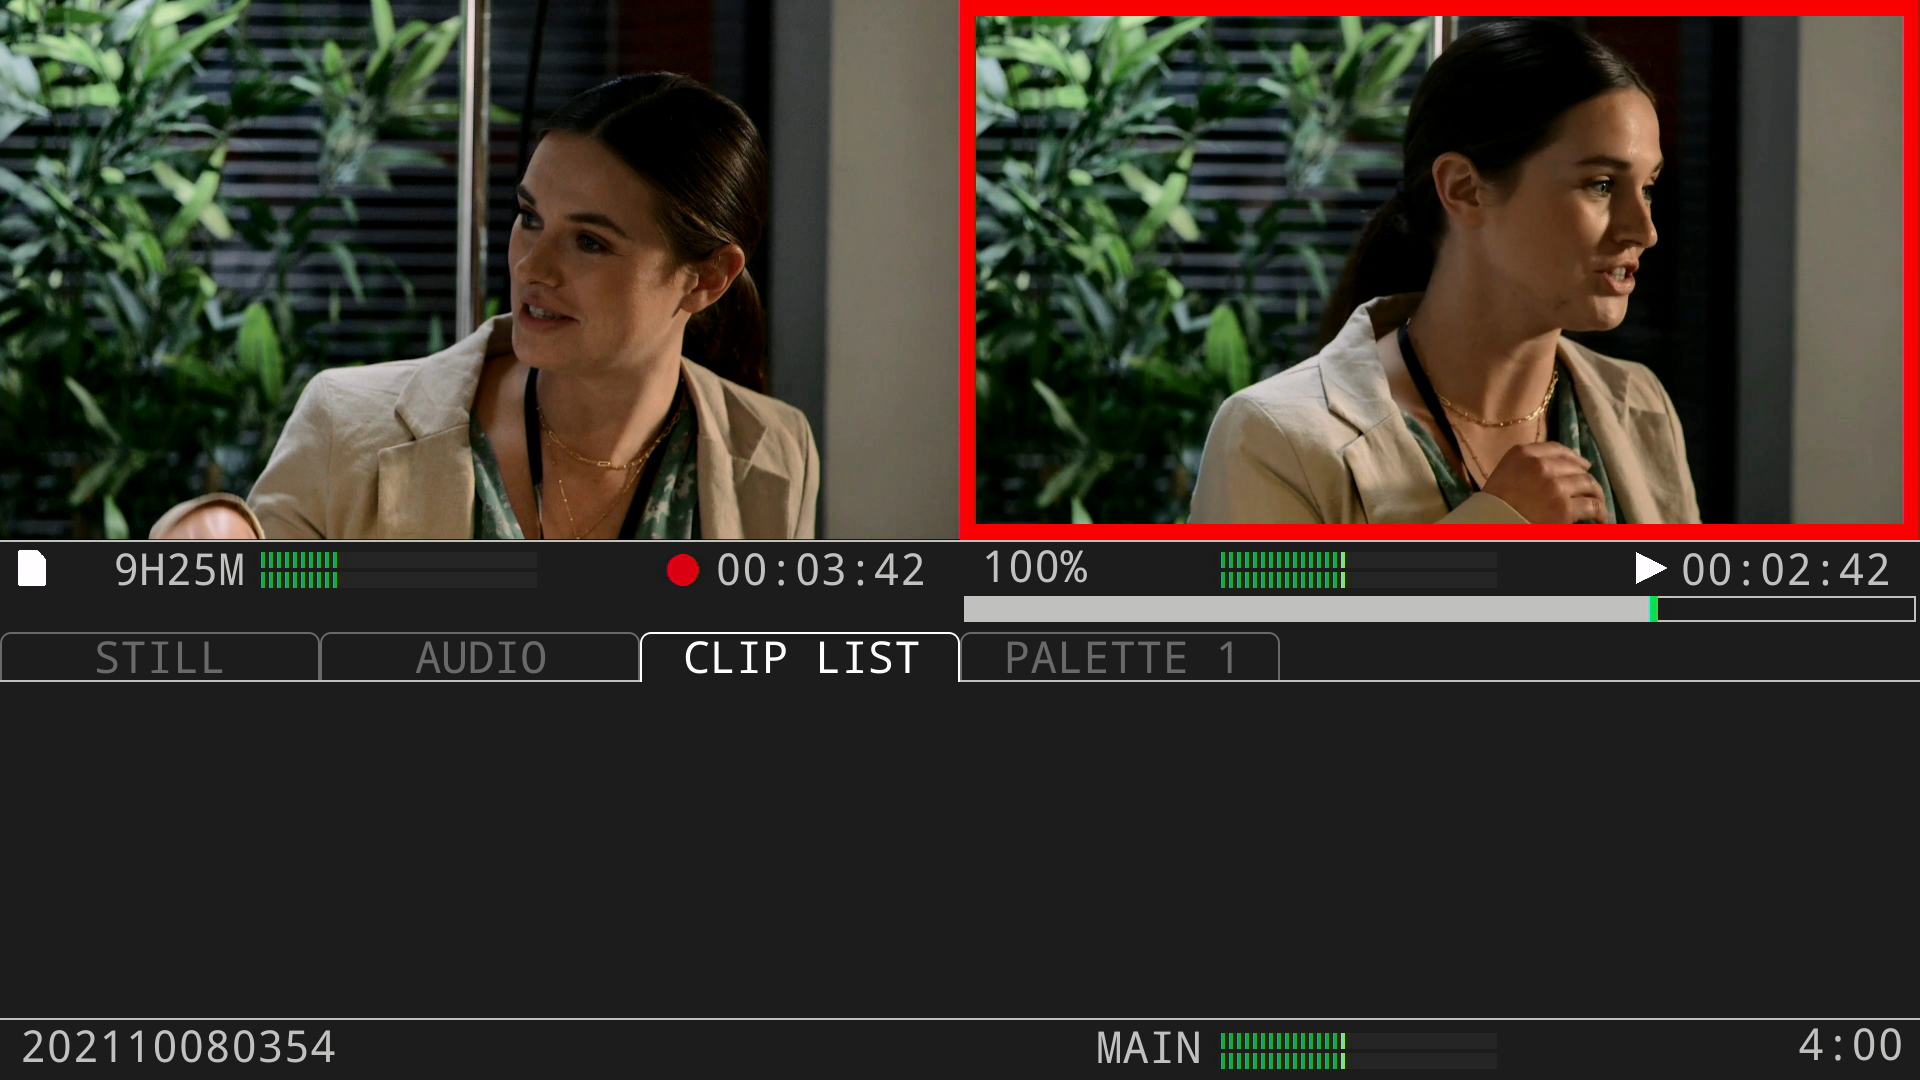
There are two video windows and timestamps on the Preview screen.
The left side is your live input, and the right side is your delayed recording:

During your production, you will need to monitor the live audio and video at the switcher.
As soon as something happens that you do not want the audience to hear, make a note of the left timestamp:

As you approach that time on the right timestamp, you can turn down the Audio Out knob to mute the audio:


Using Still Images
You can also import a still image to the USB Host port and overlay it on the P-20HD output if you need to block the video image.
Note the time that the issue happened:

As the recording approaches that time, quickly adjust the Audio Out knob and display the still image using it's assigned pad button.


The still image will appear on the live input (left video window on P-20HD LCD).

Press the Live In Output button to display it on the P-20HD output:

Wait until the issue is resolved in the recording (right video window on P-20HD LCD), and the still image is displayed in both windows.
- This needs to happen because you need to preserve the broadcast delay you set up.

Quickly press the Replay Output button to return to the delayed recording and turn off the still image.
Note the left timestamp:

As you approach that time on the right timestamp, let everyone know that the stream is resuming:

As they are about to go live, turn the Audio Out knob back up:

Don't pause the recording during production, as your audience will see it is paused and think there is an issue with the stream.
The idea behind this workflow is that you mute audio and replace video with a still image should you need to, so create a delay in the recording that is long enough to prepare for that.
Exporting the Recording
When you are finished, stop the recording by holding the Exit button and pressing the Record button:


To export the recording to the SD card, enter the Project Utility menu:
- Menu > 1: Project > Project Utility > [Enter]
- Export Rec Data (mp4) > [Enter]
Here is a tutorial on how to export recordings:
Additional Tips
Make sure to not adjust the speed bar and leave it at 100%, otherwise your audience will see things in slow motion and it will mute the audio.
- You can disable speed bar using the Panel Lock settings in the System menu.
- Menu > 15: System > Panel Lock > Speed Control Section > Off
Remember to use the default audio configuration, so that the audio is from the recording, and not the live input. This guide covers that in more detail:
P-20HD: How to output continuous live audio during replay playback
