
V-4EX: Set Up Your Audio Mix
This guide helps you set up your audio mix on the V-02HD MK II. It covers differences between inputs, muting unused audio channels, and setting up microphones and external mixers.
Audio Sources
On the V-4EX, you can output video and audio together (embedded audio) from the HDMI connector and the USB port.
You can adjust the levels and balance of:
- Analog Audio input via the AUDIO IN connectors (1 stereo channel)
- Embedded Audio input via HDMI inputs 1 through 4 (4 stereo channels)
After that, you can also adjust the output volume.
The results of balance/volume adjustment are applied to the audio output via HDMI and USB.
Make balance and volume adjustments while monitoring the sound via connected monitor speakers or the computer’s speakers.
Notes:
- In most setups, you want all audio levels to be 0.0 dB for all inputs and outputs. This is Unity, through which audio will pass through without being boosted or attenuated.
- The idea is that your sources are already mixed on the audio mixer if using the AUDIO IN connectors, and the camera/media source on HDMI inputs 1 through 4.
Adjusting Levels
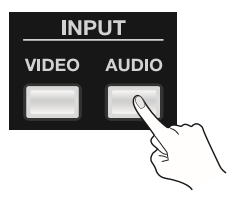
1. Display the audio setup screen. Press the [AUDIO] button in the INPUT section to display the setup screen for audio.
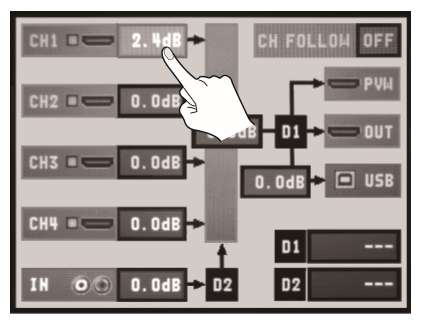
2. Adjust the balance for each channel. Use the touch panel to select from among [CH 1] to [CH 4] or [IN], then turn the [VALUE] dial to raise or lower the level.
- [CH 1] through [CH 4] correspond to HDMI inputs 1 through 4. [IN] corresponds to analog input.
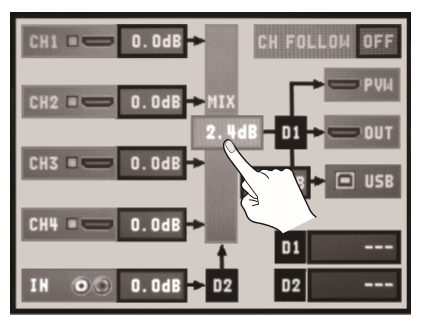
3. Adjust the volume of the final output. Use the touch panel to select [MIX], then turn the [VALUE] dial to raise or lower the level.
4. Close the setup screen. Press the [AUDIO] button in the INPUT section again to return to the original screen.
Notes:
- You can mute/unmute the sound by holding down the [AUDIO] button in INPUT section and press an input selector.
- The A-Bus input selectors (1 through 4) correspond to channels 1 through 4.
- B-Bus input selectors [1] corresponds to AUDIO IN. B-Bus input selector [4] corresponds to the output.
- Each press mutes/unmutes the sound of the corresponding channel. The output switches between mute and the currently set output level.
Audio Sync
You can use the procedure described below to apply delay to audio and align the video/audio timing.
1. Display the audio setup screen. Press the [AUDIO] button in the INPUT section to display the setup screen for audio.

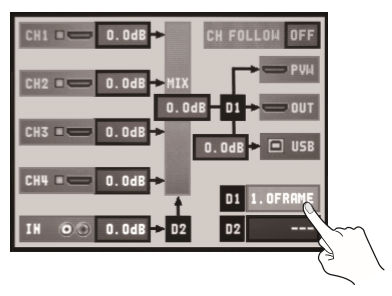
2. Adjust the amount of delay. Use the touch panel to select [D1] or [D2], then operate the [VALUE] dial to adjust the amount of delay.
- [D1] is delay applied globally to the output, and [D2] is delay applied only to AUDIO IN input.
- You can set [D1] in a range of 0.0 to 4.0 frames and [D2] in a range of 0.0 to 2.0 frames.
3. Close the setup screen. Press the [AUDIO] button in the INPUT section to return to the original screen.
Audio Follows Video
The V-4EX automatically increases the level of same audio channel when you switch video channel (1-4) if the [CH FOLLOW] is turned on.
In this case, the audio outputs of other channels are muted.
- AUDIO IN level can follow switching video channel 4.